Showing posts with label do it yourself. Show all posts

Sunday, April 06, 2008

How To Make Paper Beads


My sis brought home a nice and simple necklace made of paper beads and I'm super loving it! It's very stylish, simple yet elegant plus it's super lightweight!

One of these days, I'm going to make those paper beads, meantime, check out the instructions here if you wanna try it yourself.

Materials List
· Covers of Colorful Paper Church Bulletins or Flyers, about 4.75-Inches Wide, or Your Choice of Paper (gift wrap, gift bags, decorative paper placemats, etc.)
· Ruler
· Pencil or Pen
· Pair Of Scissors or Paper Trimmer
· Box of Round Wooden Toothpicks
· Tacky Glue
· Sewing Needle and Thread
· Ace Instant Drying Lacquer or Acrylic Sealer Spray, in Matte Or Satin Finish
· Beading Thread and Crimp Beads
· Small Spacer Beads made of Glass, Ceramic, Plastic, Metal, Whatever -- Gold, Silver; Pearl-Like Blue, Lavender, Purple or Your Choice

The Steps

1. Choose your paper. For print materials, like church flyers, you may have to collect a few copies before you have enough beading paper with the same color scheme. This means going to church regularly and/or asking friends to save the flyers for you. Besides using flyers from the church she attends, Dagny collects flyers from other churches in the area.

2. With the color/picture side down and print side up, mark the flyer in 5/8-inch increments across the long sides.

3. Draw diagonal lines across the paper to create elongated triangles.

4. Cut the triangles using scissors or a paper trimmer.

5. Put a bit of tacky glue on a strip of paper at the short end (on the picture side). With the print on the inside, wrap the triangle strip around the toothpick, taking care to tuck in the end before starting. Roll the paper up, like you're making a crescent roll. Apply tacky glue on the inside of the paper as you roll.

6. Put the toothpick aside and allow the bead to dry. Using a new toothpick, start work on your next bead. Continue until you have about 36 beads.

7. Pull the toothpicks out of the beads and string them on a "dummy" thread temporarily, using a needle and any type of sewing thread. Tie the thread together at the end.

8. Take your string of beads outside and spray them with lacquer or acrylic sealer. Allow the beads to dry overnight.

9. The next day, cut the "dummy" thread and remove the beads. Restring the beads on beading thread or wire, alternating paper beads with your favorite glass or other bead.

10. After restringing the paper beads, hide your final knot (or crimp bead, if applicable) within a paper bead.


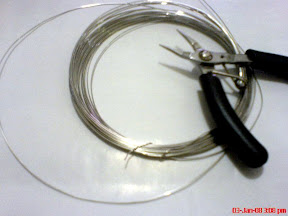
photo from bellaonline.com

More information HERE

Tuesday, January 08, 2008

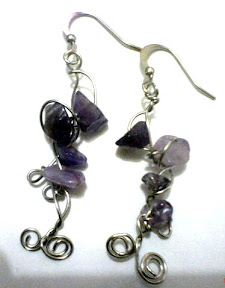
Functional Wire Earrings


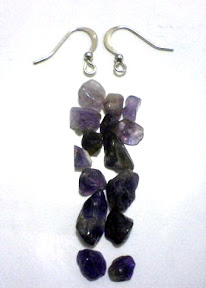
Fiber wire size 5 (recommended). This piece requires a lot of twisting so make sure the wire you use is not too thick to bend. I used size 6 here which I don't recommend. You can use size 4 or 5.


Pair of hook earrings and several pieces of stones


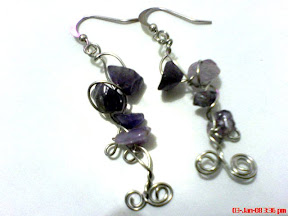
The challenge is to make the pair exactly identical. No rules here, just twist and turns and be as creative as you can be. You can also use different beads - colors and texture.


Promise, I'll do better next time. I'll use size 5 and different beads. The wire I used is kinda hard to bend thus the result. These are really nice and unique pair of earrings. As much as possible, I don't make the same designs unless the buyer request for it.


Friday, January 04, 2008

How to make a CHARM BRACELET

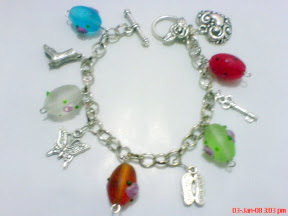
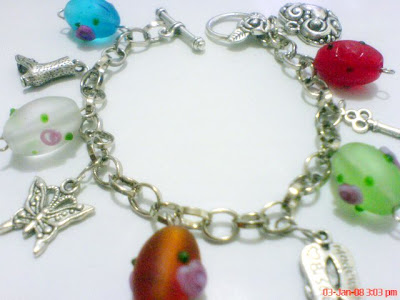
Colorful charm bracelets are one of my favorites. They blend well with any clothes you wear and they really look lovely. It carries personal decorative pendants or trinkets which signifies important things in the owner's life. Here are some steps on how you can make one for yourself. ENJOY!!!


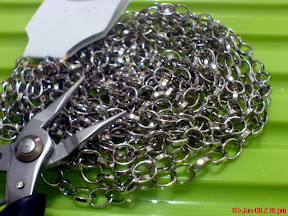
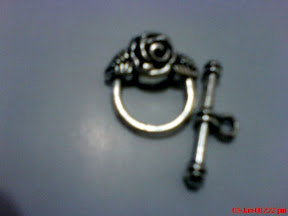
Wire cutter, Pliers and Bracelet chain. Measure your wrist, leaving some room for your bracelet to hang comfortably. Approximately 7 inches.


Attach the lock at each end of your chain


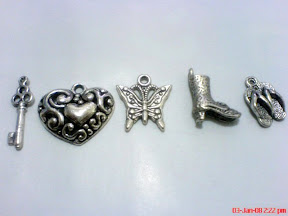
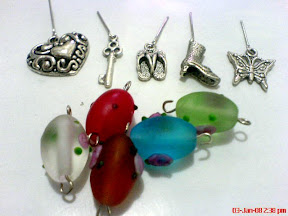
your choice of different charms/trinkets


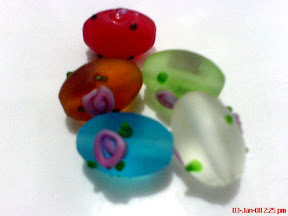
different colors, glass beads


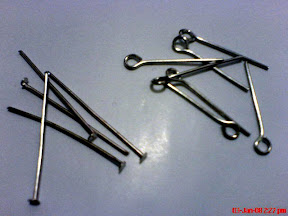
several pieces of head pins and round pins


Grasp one end of your round pin with the tip of your round nose pliers. Rotate your hand away from your body to form a small circle.


Attach the trinkets into the chain at regular intervals and alternating colors.


FINISH!!!


What the charms mean to you:

HEART - You'll find true love soon
High Heeled Shoes -
For the stylish and glamorous YOU
Key -
The key to someone's heart!
Butterfly -
For a lovelier and more beautiful You!
Slippers -
For your comfort and convenience!

Valentine is coming very soon. I think this is an excellent gift for your loved ones, girlfriends, wife, mother, sisters and bestfriend. For customized orders, pricing etc. shoot me an email!


TagLine

Credits